During the fall season, one of my favorite ways to take a moment for myself – as well as prepare my skin for drier weather – is by using face masks. There are so many options out there, and each one comes with its own set of benefits. I partnered with milk + honey, one of my favorite holistic skincare brands, to share the different kinds of masks and steps of application to help you find the perfect match for your skincare needs.
I first became acquainted with milk + honey when searching for a natural, baking-soda free deodorant. My skin is sensitive to baking soda, so I was so relieved to find a product that not only didn’t irritate my skin, but also kept both sweat and smell at bay.
Not only do their products work well for me, but the Austin-based company’s values align with my own. The founder, Alissa Bayer, is dedicated to only using hyperclean, quality ingredients in her products that are both effective and enjoyable to use. Unfortunately I don’t live near any of their six spas, but I love using their spa-quality, organic products every day in my home and when I’m on the road traveling. Starting today through December 31st, they are offering 20% off all of milk + honey products on milkandhoney.com with code WUHAUS20.
First, let’s talk about the different face masks that are widely available:
Clay
Clay masks have been around for centuries and are great for removing dirt and toxins from your face and replacing them with beneficial minerals. They’re ideal for acne-prone skin, and can be extremely helpful when applied the correct way (keep reading for tips on mask application).
Some common clay masks include bentonite, which is great for oily skin; French green clay, which boosts circulation and tightens pores; and kaolin clay, which contains milder absorption qualities that is more ideal for dry to normal skin.
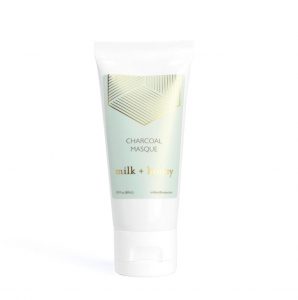
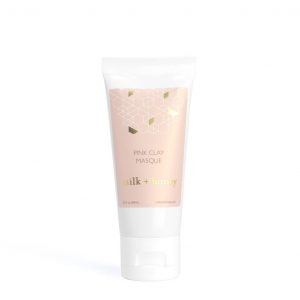
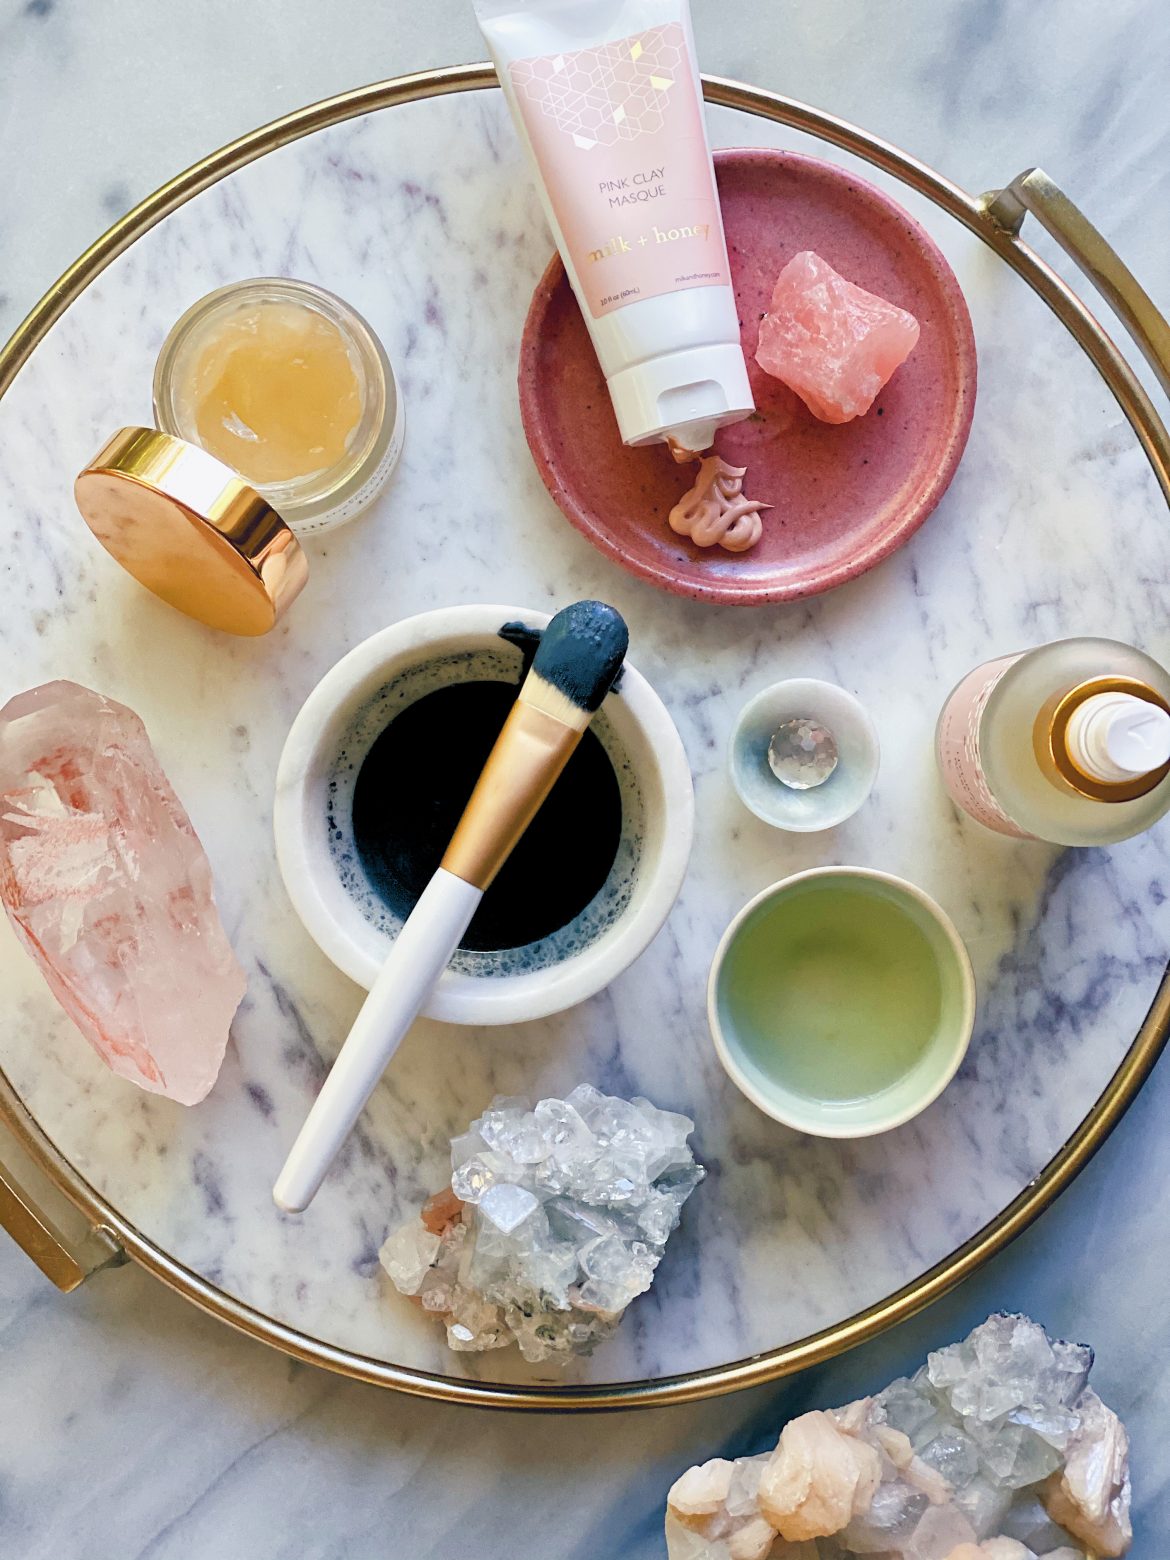
I love alternating between milk + honey’s charcoal clay masque and pink clay masque for their unique benefits. The charcoal clay masque includes both activated charcoal and bentonite clay, making it a great detoxification mask that minimizes dryness with organic aloe leaf. The pink clay masque is a gentler option that is perfect for those with combination skin or who want some mild exfoliation for brightening.
Skin type: Normal to oily
Benefits: Detoxification, exfoliation, pore minimization, skin tightening
Mud
Mud masks are water-based and can be very hydrating. They’re a great option for those who tend to have dry skin, especially during the harsher months of fall and winter. Since you don’t run the risk of overdrying your skin with mud masks, they can be used regularly – up to 2-3 times a week, depending on your skin needs and sensitivities.
Skin type: Normal to dry
Benefits: Detoxification, exfoliation, hydration, skin tightening
Cream
Cream masks are also a great option for hydration, making them ideal for people with normal to dry skin. Most are made with replenishing oils and moisturizers like jojoba oil and shea butter. They may also include hyaluronic acid, which our skin naturally produces but can often be compromised by regular exposure to UV rays and other elements. Cream masks can help supplement your natural supply to hold in moisture and smooth out fine lines and wrinkles.
Skin type: Normal to dry
Benefits: Hydration, spot treatment + brightening
Exfoliating Enzyme
Sometimes, all your skin really needs for a pick-me-up is a thorough exfoliation. Enzyme masks are a great way to remove dead skin cells that clog pores and cause breakouts. Many exfoliating face masks, like the milk + honey exfoliating enzyme masque, are AHA-based (Alpha-Hydroxy Acids). These acids create a chemical peeling effect that are gentle enough for most skin types. Since these can be drying, look for one with moisturizing ingredients or be sure to follow-up with your favorite moisturizer.
Skin type: All
Benefits: Exfoliation, spot treatment + brightening
Sheet
Sheet masks are fun to apply and come in a variety of options that can target different issues. Most sheet masks state their benefits directly on the packaging – from exfoliation and pore-refining to firming, hydration and detoxification. Most are ideal for all skin types and don’t require washing your face after removing the sheet. Instead, massage any remaining mask into your skin to keep reaping its benefits. They’re great for airplanes or to take traveling.
Skin type: All
Benefits: Varies by sheet mask ingredients
There are more types of face masks available on the market, but these are the kinds that I have most experience with. Not all masks are made equal, but you can get the maximum benefit that they provide when they’re applied correctly. Here are the steps I suggest taking when applying a milk + honey face mask:
1.) Wash your face
Most masks include this as the first step in directions. By starting with a clean face, your skin is able to properly absorb the benefits of the mask. Be sure to wash with your regular cleanser and not just water to clear the skin of any makeup or impurities. If it’s been a while since you’ve exfoliated, you may consider using your favorite facial scrub or adding a natural exfoliant like sugar to your face wash.
2.) Open your pores
Opening your pores makes it easier for the mask to effectively clear them of debris. You can do this by taking a hot shower before applying the mask, covering your face with a washcloth that’s been dipped in hot water (test the temperature before placing on your face to avoid getting burned!), or by placing your face over a bowl of steaming water for a few minutes.
3.) Apply mask
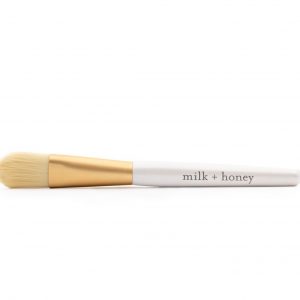
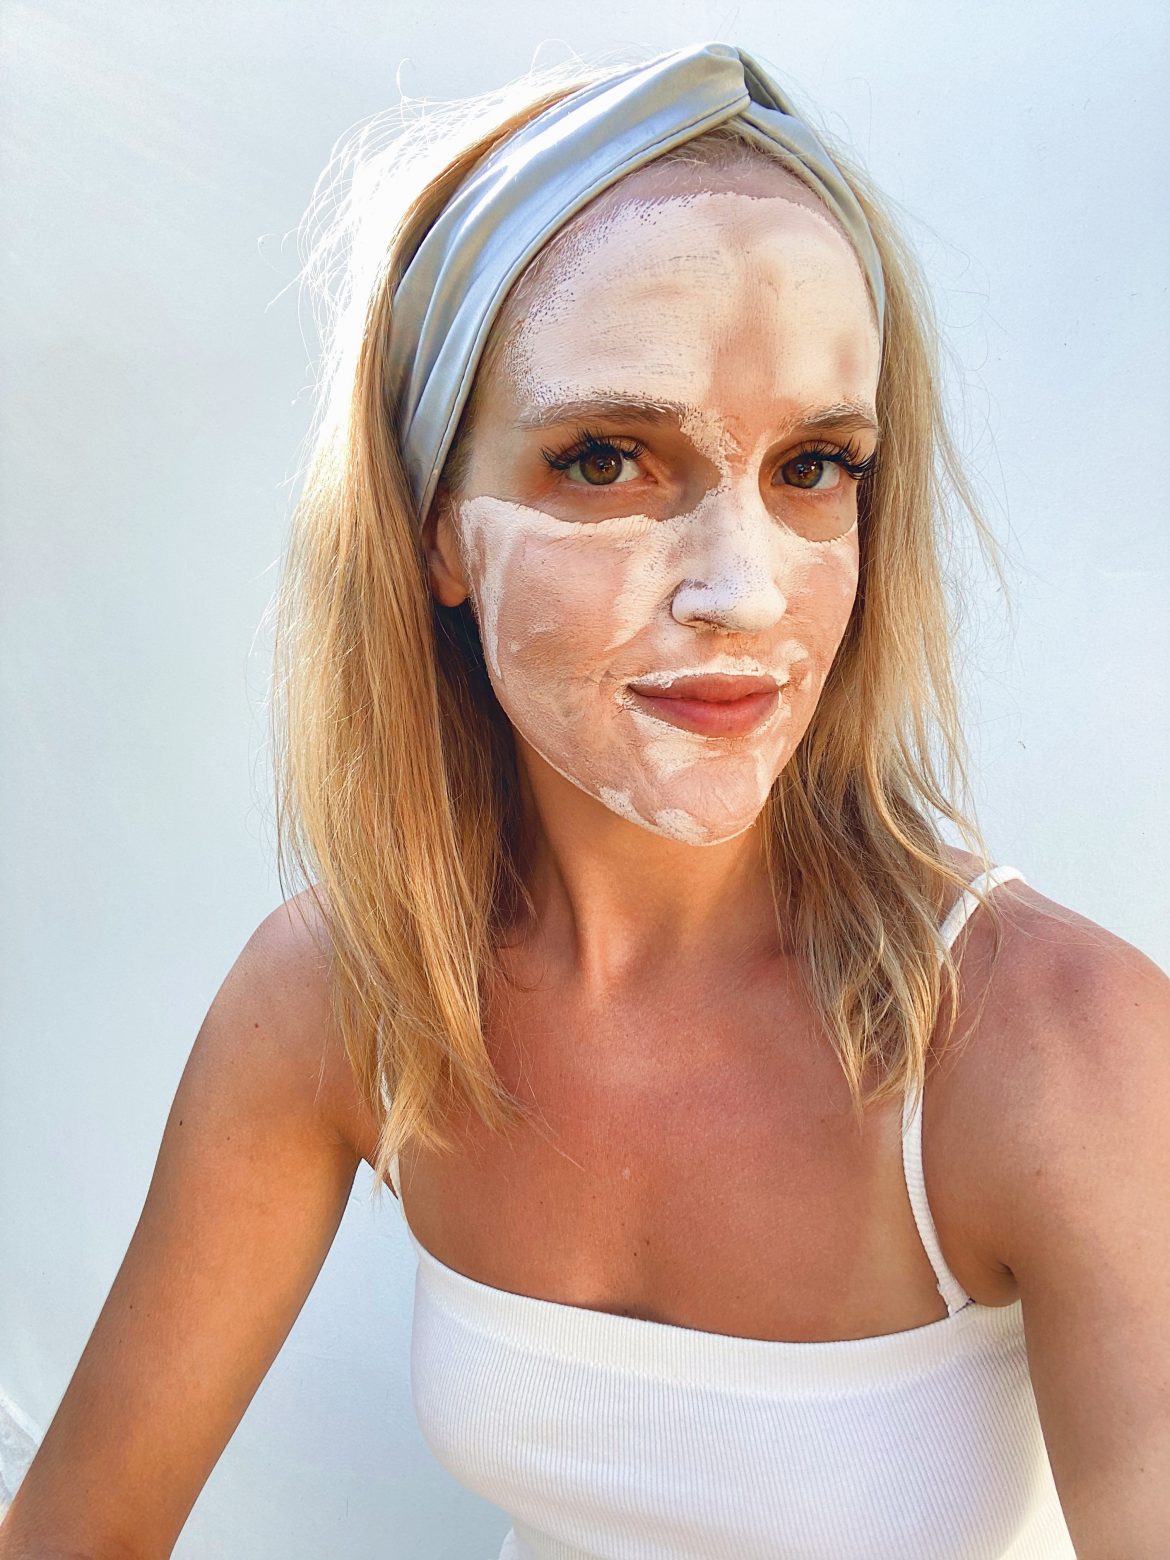
My favorite part! Although clean fingers work perfectly fine, I love using the milk + honey Masque Brush for an even application and to keep things from getting messy. To apply, I usually start with my forehead, applying across the middle and brushing out toward my temples. I do the same with my nose, cheeks and chin, taking care to avoid sensitive areas like my eyes and lips.
4.) Remove mask
People often wait until the mask becomes completely dry and flaky before removal, but that’s actually too long. Once it reaches that stage, it begins to remove moisture from your skin and can leave your skin dry and irritable. Instead, wait until it becomes lighter in color and sticky to the touch, then wash it away to reveal fresh, clean skin. I usually take off masks with lukewarm to warm water, splashing my skin until the water runs clear.
5.) Lock in the benefits
At the very least, splash your face with cold water or use a gentle toner to close your pores. If you have a favorite serum or moisturizer, apply as you normally would while your skin is still damp to maximize hydration.
6.) Repeat!
Before using any new mask, I recommend spot-treating on your skin, either on your neck or someplace not highly visible, to make sure you don’t have any adverse reactions to its ingredients. If all looks good after 24 hours, you can apply most masks up to 2-3 times weekly or whenever you feel like having an at-home spa day. I love making the most of the experience by putting on my favorite music, lounging in a robe and petting my fur babies while the mask does its thing.
Let me know your favorite face mask rituals in the comments!